The Flashprint program is the middle step in between getting the 3D file (an .stl file from download, design, or scan) and actually 3D printing the object. The process is called slicing, and sometimes the software is referred to as Slicer software.
You must first download and install the Flashprint software. It's free and you can get it from http://www.flashforge.com.hk/downloads.html Make sure you download the software for the Flashforge Creator Pro printer.
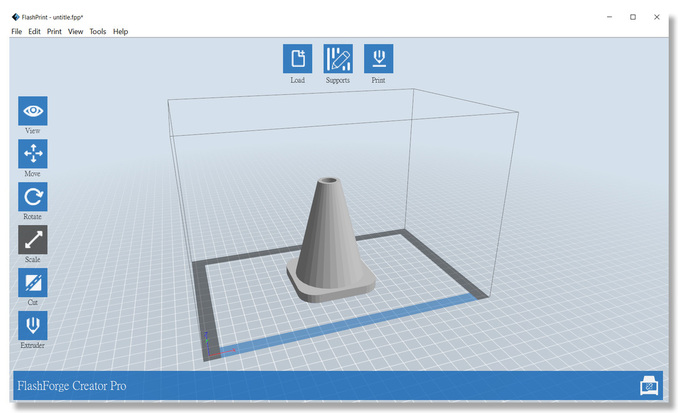
Once you've installed the software, the first step is select your printer (a video demonstrating this and all the steps mentioned below is available in the Links tab of this page) . You will be using the Flashforge Creator Pro. Once you've selected your printer, you're ready to Load the .stl file. In the image below, the user has loaded an .stl file of a traffic cone. Using the buttons on the left side of the screen, and on the top, you can re-size your image to the size you want for the actual print, change settings such as infill (do you want a hollow object, a solid object, or somewhere in between), or add supports (next picture) or rafts.
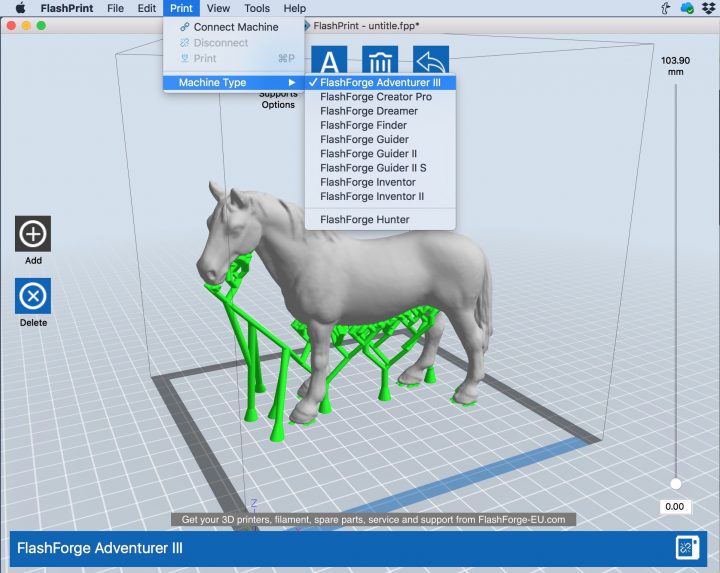
The picture below shows an example of a model that needs supports for printing. There are several places on the horse that would result in unsupported plastic. The program will automatically find these areas and add supports (green color.) The supports can be easily snapped off after printing.
A raft is a small platform the program adds to an object - it can also be easily removed. The picture below shows a raft on a 3D print.

No comments:
Post a Comment